

I worked a little bit on a cross stitch project I have been leisurely working on for the last few weeks but grew bored of it so decided to do a mini-project just for fun. As you all know, I am obsessed with Lisa Frank, perhaps even more obsessed than my former 12 year old self. So I thought it would be fun to make some Lisa Frank shrinky dinks to either turn into magnets or charms for jewelry. I used to actually sell this kind of stuff at craft fairs over 10 years ago. I had some old shrink dink paper that had been sitting around on a shelf in my office so I found a Lisa Frank coloring page printable online (there are tons!) and went with a very 80's design -- a teddy bear ice cream sundae. I made it quite large as I was mostly just playing around so it will likely turn into a magnet that goes on my fridge.
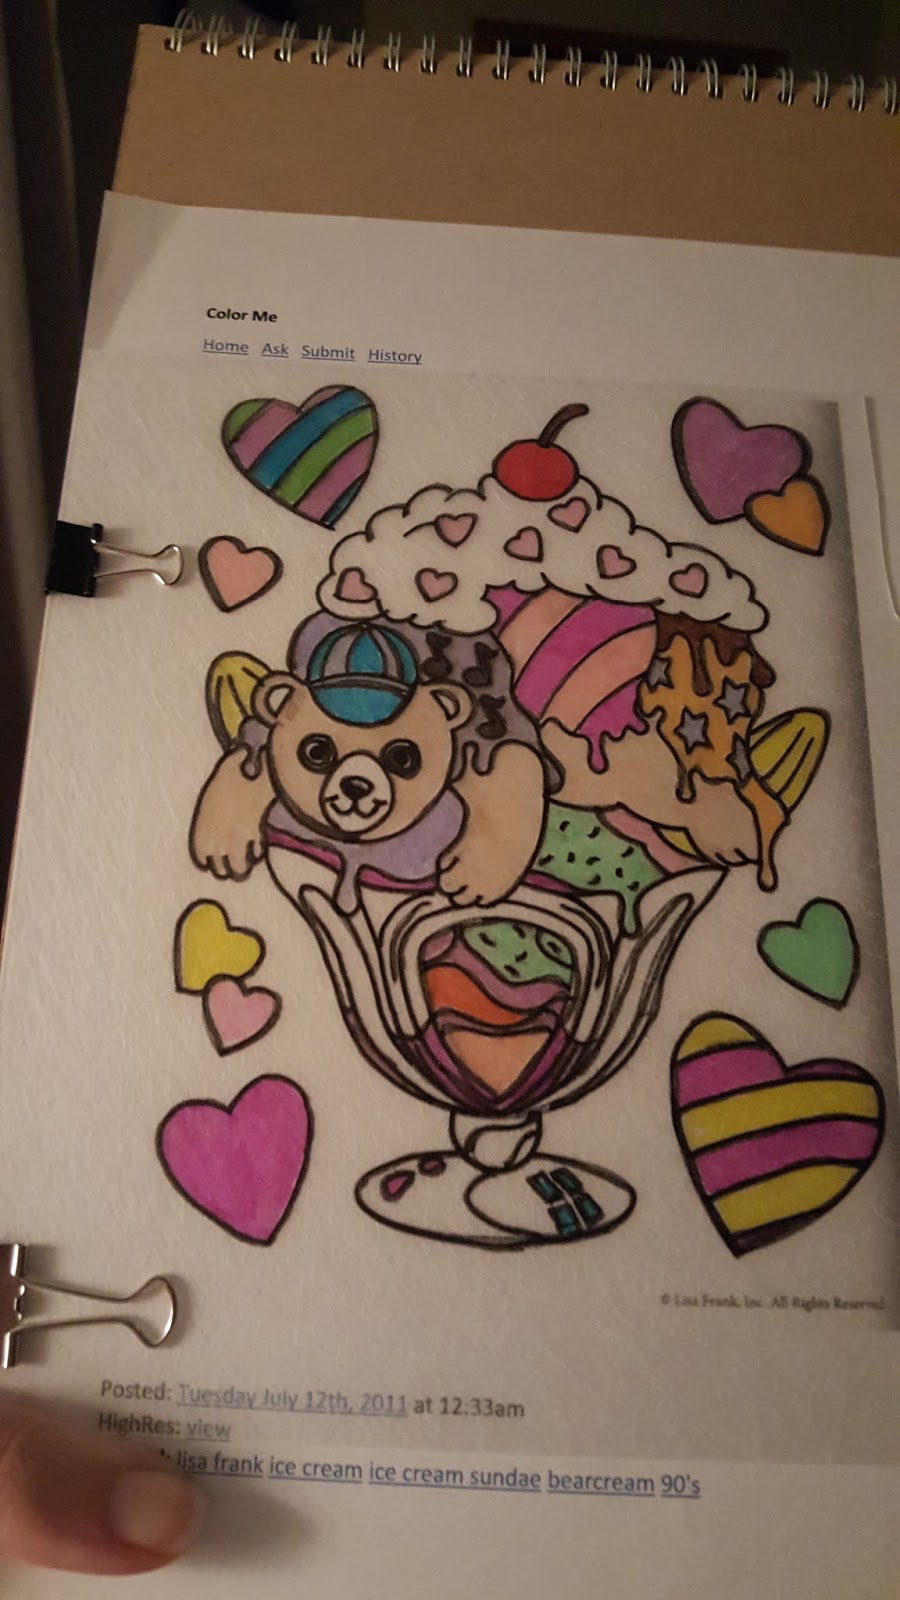
After you have the art you are going to trace, then just lay the shrinky dink paper rough side up and trace the design. Once you are done, you can color it lightly and cut it out. You bake them at 325 degrees (preheat the oven) for about 2 minutes and voila they are done. I pulled mine out quickly so I could press it flat as they sometimes can be a bit lumpy.


I also managed to start a project restoring a vintage buffet that I've had for years. I'll save that for a separate post so I can show before and after photos and describe the process in more detail.
No comments:
Post a Comment